Coloring books are a fantastic way to spark creativity, whether for personal enjoyment, educational purposes, or even professional projects. With the Coloring Book Creator App, you can easily design unique and engaging coloring pages in just a few simple steps. This guide will walk you through how to use the app effectively.
Step 1: Access the App
The Coloring Book Creator is available as a Google Docs extension, making it accessible directly from your Google account. To get started you must install the extension which can be access using either of the methods listed below:

- Click here to install the add-on directly from the Google Workspace Marketplace —————>
- OR, follow the Manual Installation instructions below to help locate and install the App manually.
- Open Google Docs.
- Click on Extensions in the top menu.
- Select “Add-ons” -> “Get-add ons”
- Search “Coloring Book Creator” and select the option with the Pixelated Pencil Icon.
Step 2: Refresh Your Webpage
Once you have completed the install process, we recommend that you refresh the page.
Step 3: Grant Edit Permissions to Your Desired Document
You should now see the “Coloring Book Creator” listed within your “Extensions” menu. If you do not see this menu option, please return to either Step 1 or Step 2; otherwise please continue with the steps below:
- Select Extensions -> Coloring Book Creator -> Grant Edit Permissions
- Select the current document that you wish to provide edit permissions to
Step 4: Open Builder to Access the App
With Edit Permissions granted, we can now access the App by selecting Extensions -> Coloring Book Creator -> Open Builder
Please Note: If you receive the following error “GoogleJsonResponseException: API call to docs.documents.get failed with error: Requested entity was not found.This application does not have permission to edit this document. Please use the Grant Edit Permissions tab to grant this application permission to edit this document.”, please return to Step 3: Grant Edit Permissions.
Step 5: Customize Your Theme Preferences
The application currently consists of the seven (7) following form response fields, which can be completed in minutes if not seconds.
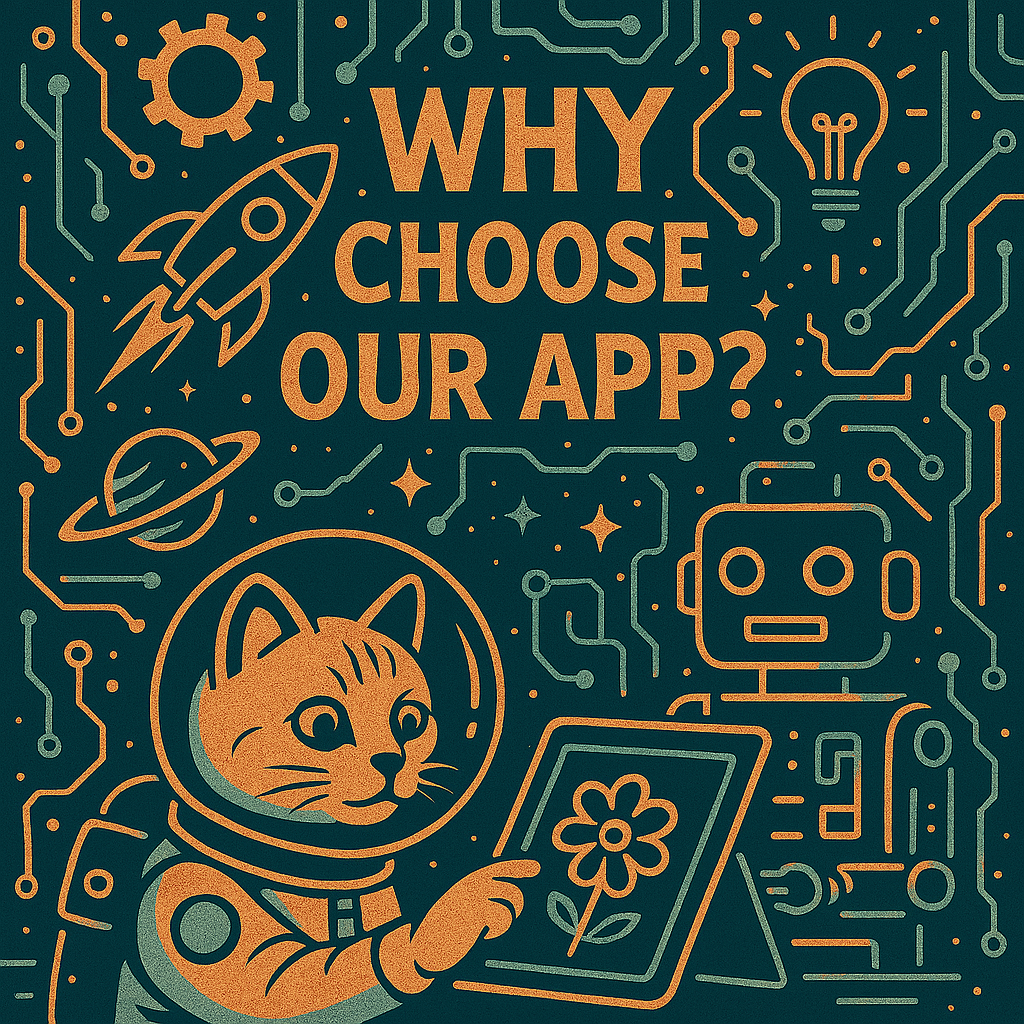
- Provide a theme (e.g Vacation Santa, Space Cats, Easter Bunnies, Robot Squirrels)
- This is a limited character field that allows you to set the the general theme of your images
- We have additional themes online with Free Coloring Images created using our App (Click Here) to browse themes and free images
- Is this coloring book intended for children, adults, or both?
- This is a drop-down field with 3 unique options (Adults, Children, Both)
- Do you prefer simple, medium, or intricate designs?
- This is another drop-down field with 3 unique options (Simple, Medium, Intricate)
- “Simple” is the recommended option for most
- Provide an art style (e.g. Cartoonish, Realistic, Pop Art, Abstract)
- This is another limited character field that allows you to further customize your image set. This can help influence your image set based on a preferred style to go with your theme.
- What else would you like your images to include? (e.g. specific animals, plants, food, scenery)
- This is another limited character field that allows you to further customize your image set.
- Want to throw a random pickle in your images? This is where to do it.
- Should the pages tell a story in sequence, or can each page stand alone?
- This is a drop-down field with 2 unique options (Sequence, Alone)
- This helps influence the text prompts to be connected in a story or sequence, however, the images
- generated are based solely on the text prompts and may not give the consistent appearance of a planned sequence.
- How many pages do you want the book to have?
- This is a number entry, which allows you to determine how many images you want to create.
- New users are given 5 Credits to sample the application, which is equivalent to 5 Images. Once these credits are used, additional credits can be purchased directly from the Extensions -> Coloring Book Creator -> Purchase Credits menu item. Payment is collected via a Debit or Credit card purchase facilitated by Stripe.
Once you are comfortable with the form responses, Press SUBMIT!
Step 6: Editing Your Image Set
Once you have pressed SUBMIT on the builder, the application will begin by generating the image prompts, this usually only takes a few seconds, which can vary depending on your device and network speeds. Shortly following the completion of the image prompts, the images will begin to populate and are able to be edited immediately with sliders to adjust the images Brightness, Contrast, Binary Threshold, Filter Radius, and Small Dot Filter. These settings are each described below:
- Brightness
- Contrast
- Binary Threshold
- Filter Radius
- Small Dot Filter
If you have an image that needs to be regenerated due to it not aligning with your theme or quality expectations, you may select the “Regenerate Prompt” to regenerate an entirely new prompt and image, or “Regenerate Image” which will use the same prompt to regenerate a new image.
Step 7: Save Your Images
After you have edited your image set, you can either add the images to the document using the “Send to Document” button, and/or you can save them directly to your device by selecting the “Download as Zip”.
We are excited for you to try the App! Please let us know if you have any questions.